Blog
How to fix a computer screen with a distorted screen? Here’s how to fix it quickly

How to Fix a Computer Screen with a Distorted Screen? Here’s How to Fix It Quickly (Seriously!)
Is your computer screen throwing a psychedelic tantrum? Maybe it’s flashing like a disco ball, showing wavy lines like a bad TV signal, or just looking generally… wrong? Don’t panic! A distorted screen can feel like a digital disaster, but often, the fix is quicker and easier than you think. Forget expensive tech calls for a minute – let’s dive into the real-world fixes you can try right now. This isn’t just generic advice; it’s the stuff techs use before swapping parts.
Taming the Visual Chaos: Your Distorted Screen Rescue Guide
First Things First: The Instant Reboot (It’s Not Just a Cliché!)
Yeah, yeah, you’ve heard it a million times. But seriously, reboot your computer. It sounds too simple, but it genuinely fixes a massive chunk of weird tech gremlins, including temporary graphics glitches causing distortion. Think of it like giving your computer a quick power nap to reset its confused brain.
- The Full Power Cycle (For Stubborn Cases)
If a simple restart doesn’t cut it, try a full power cycle:- Shut down your computer completely.
- Unplug the power cable from the back (and the wall if it’s a desktop).
- If it’s a laptop, remove the battery too (if removable).
- The Critical Step: Hold down the power button for a solid 60 seconds. This drains any leftover charge (called ‘flea power’) that can cause hiccups.
- Plug everything back in (or reinsert the battery) and power up.
Is It the Cable? The Silent Saboteur!
Loose, damaged, or faulty cables are prime suspects for screen distortion, especially on external monitors or laptops connected to docks/docking stations. Those wavy lines or flickering? Often cable culprits.
- Inspect & Reseat Like a Pro
- Power everything down.
- Check both ends of the video cable (HDMI, DisplayPort, VGA, USB-C) connecting your computer to the monitor. Look for bent pins, obvious damage, or fraying.
- Unplug Firmly, Then Replug Firmly. Ensure it’s seated completely in both ports. Wiggle it slightly while plugged in – does the distortion change? That screams cable issue!
- H3: The Cable Swap Test (The Gold Standard)
Got a spare cable lying around? Swap it out! Using a different cable is the fastest way to confirm if your current one is toast. Borrow one if you need to. This test is worth its weight in gold.
Software Shenanigans: Drivers & Settings
Your graphics card is the artist, and its drivers are the paintbrushes. Outdated, corrupted, or wrong drivers can make a real mess on your canvas (the screen).
- Updating Graphics Drivers: Don’t Skip This!
- Identify your GPU: Is it Intel Integrated? NVIDIA? AMD Radeon? (Check Device Manager in Windows or System Info on Mac).
- Go Straight to the Source: Visit the manufacturer’s website (Intel, NVIDIA, AMD) – never rely solely on Windows Update for graphics drivers. Download the latest stable driver for your exact model and OS version.
- Run the installer. Choose ‘Custom Install’ and select ‘Perform a clean installation’ if available – this removes old settings thoroughly.
- Reboot! Always reboot after a driver install.
- Resolution & Refresh Rate Roulette(computer)
An incorrect resolution or refresh rate setting can definitely cause distortion or a black screen.- Right-click your desktop -> Display Settings (Windows) or System Settings -> Displays (Mac).
- Match the Native Resolution: Ensure the resolution is set to the recommended (native) resolution for your monitor. This is usually the highest option listed. Using a non-native res is asking for trouble.
- Check the Refresh Rate: Look for the ‘Advanced Display Settings’ (Win) or directly in the Displays pane (Mac). Try a different refresh rate (e.g., 60Hz instead of 144Hz) if distortion occurs, especially after updates.
When Hardware Throws a Fit: Monitor & GPU
Sometimes, the problem is deeper inside the machine. Let’s diagnose.
Is the Monitor Itself Dying?(computer)
How to tell:
- Test on Another Source: Connect the monitor to a different computer, laptop, or even a game console. Does the distortion persist? If yes, the monitor is likely faulty.Try Another Monitor on Your PC: Connect a known-good monitor to your computer. If it works fine, your original monitor is the problem.
- Internal Monitor Failure: If it’s a laptop screen or an integrated monitor showing permanent lines, discoloration, or cracks, the internal display panel or cable is probably damaged and needs professional repair/replacement.
- Is Your Graphics Card (GPU) Overheating or Failing?
A stressed or dying GPU is a classic distortion source, often accompanied by graphical glitches in games or 3D apps, artifacts (weird shapes/colors), or crashes.- Check GPU Temperatures: Use free tools like HWMonitor, GPU-Z, or MSI Afterburner. Idle temps should generally be below 50-60°C; load temps shouldn’t consistently exceed 80-85°C (check your specific GPU’s safe range).
- Clean Out the Dust Bunnies! Overheating is often caused by dust clogging fans and heatsinks. Power down, unplug, and carefully use compressed air to blow dust out of vents, fans, and heatsinks (hold fans still while blowing to prevent overspinning).
- Listen & Look: Are the GPU fans spinning loudly or not spinning at all? Visible damage on the card? These are bad signs.
Prevention is Better Than Cure: Protect Your View
Avoid future distortion drama!
- Handle Cables Gently: Don’t yank them, avoid sharp bends, and protect ports from strain.
- Keep Drivers Updated: Set a reminder to check for GPU driver updates monthly.
- Manage Heat: Ensure your computer (especially desktops) has good airflow. Don’t block vents. Keep it clean!
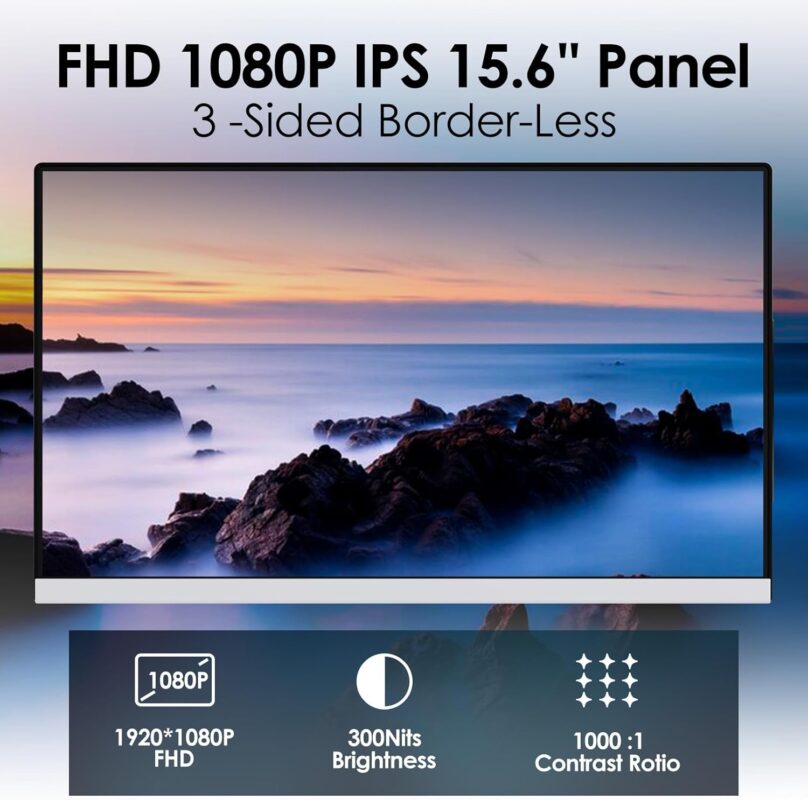
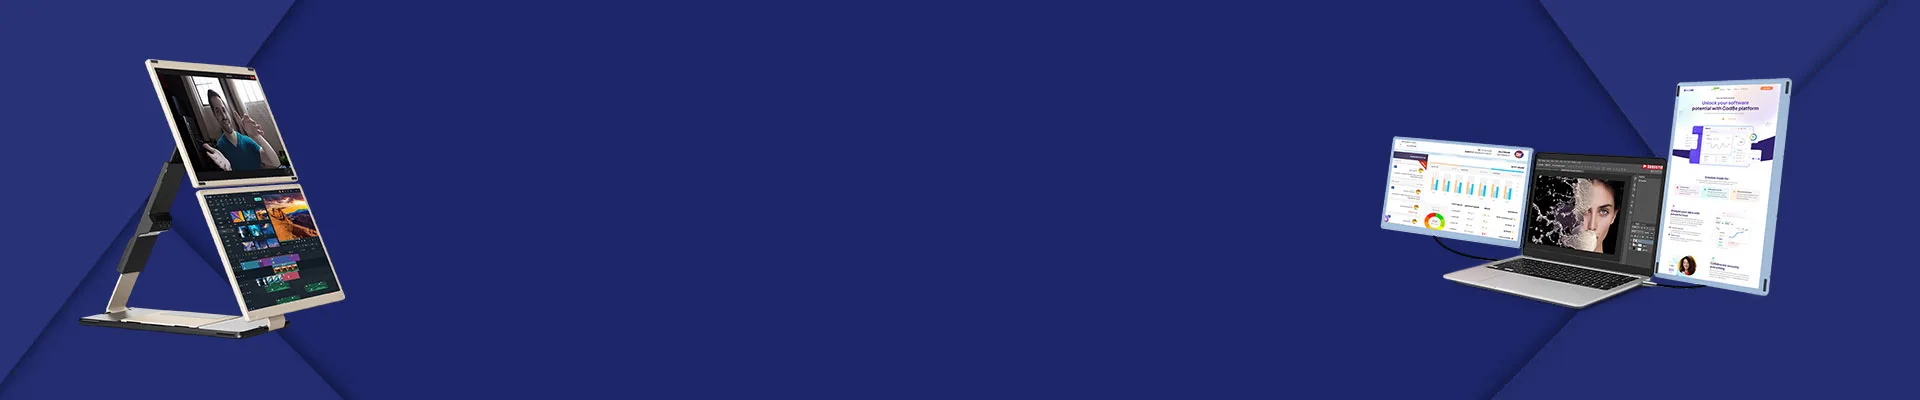
- Consider a Portable Backup (Like the RedAlf Triple Portable Monitor): Ever had your main screen die mid-project? Talk about stress! Having a reliable portable monitor like the RedAlf Triple isn’t just for extra screen space; it’s a brilliant insurance policy. If your primary display goes kaput with distortion you can’t fix immediately, simply plug in your portable monitor and keep working! No frantic scrambling, no lost productivity. Plus, its triple-screen design means you can spread out your work, potentially reducing the strain on your main monitor over time. Check it out at https://redalfstore.com/redalf-triple-portable-monitor-for-laptop/ – think of it as your visual safety net.
Wrapping Up: From Distortion to Clarity
Fixing a distorted computer screen usually boils down to methodical troubleshooting: start simple (reboot, check cables), move to software (drivers, settings), and finally assess hardware (monitor, GPU). Most issues are resolved long before needing expensive repairs. Remember, that portable monitor isn’t just a luxury; it’s practical peace of mind when your main screen decides to rebel. Stay calm, work through these steps, and you’ll likely banish those annoying visual glitches faster than you thought possible. Now go reclaim your crystal-clear display!
Frequently Asked Questions (FAQs)
- Q: Can a magnet cause screen distortion?
A: While old CRT monitors were highly susceptible, modern LCD/LED screens are much less affected by typical household magnets. A very strong magnet placed right against the screen could potentially cause temporary issues, but it’s unlikely in normal use. - Q: Are vertical lines worse than horizontal lines?
A: Not necessarily in terms of severity. Both indicate potential hardware failure (cable, connection, or the panel itself). Vertical lines are often linked to internal monitor/LCD cable issues, while horizontal lines can stem from various sources including the GPU or cable. Both require investigation. - Q: My screen distortion only happens in games. What’s wrong?
A: This strongly points to your graphics card (GPU). It could be overheating, the drivers could be buggy or outdated, the game settings (resolution/refresh rate) might be incompatible, or the GPU itself could be failing under load. Update drivers, monitor temps, and lower in-game graphics settings first. - Q: I spilled a little liquid near my laptop, and now the screen is distorted. Can it be fixed?
A: Liquid damage is serious and unpredictable. Power off immediately, disconnect power/battery. Distortion after a spill likely means liquid reached the internal display cable or connectors. Drying might help if you’re incredibly lucky, but professional cleaning/repair is usually necessary, and success isn’t guaranteed. - Q: I tried everything here, and my screen is still distorted! What now?
A: If you’ve exhausted these steps (especially the cable swap and testing the monitor on another source/another monitor on your PC), it’s time to consult a professional repair technician. They can diagnose if it’s a repairable internal component (like a cable or inverter board) or if the screen/GPU needs replacement.